My laptop had been running with CentOS 6.5 with Windows 7 for more than one years. In this year, CentOS 7 has been released, which has some exciting features, such as Kernel 3.0+, systemd, GRUB2, and etc.
Now I will show you how to install CentOS 7 with Windows 7 as dual systems.
1. Download the source: CentOS-7.0-1406-x86_64-DVD.iso, and then check it with sha256sum:
sha256sum CentOS-7.0-1406-x86_64-DVD.iso
verify the result with the http://wiki.centos.org/Manuals/ReleaseNotes/CentOS7.
2. start to your CentOS system, prepare a blank USB stick (4+ GB),
dd if=CentOS-7.0-1406-x86_64-DVD.iso of=/dev/sdb
where /dev/sdb is your USB device identifier.
3. reboot your system, and change the boot orders with USB as the first choice in BIOS. Save it and Exit.
4. Choose 'Install CentOS 7' option and press enter key.

5. Choose the language as you want.
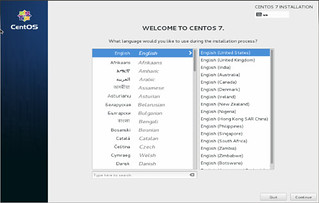
6. change the installation partition. by default, installer will automatically partition your disk. To create your own partition table, click on "installation Destination".
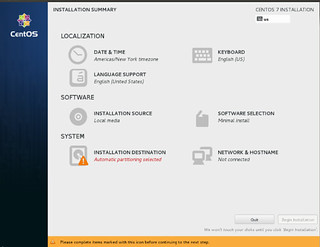
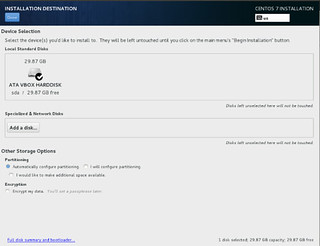
7. As you see below, There is about 30 GB hard drive for OS installation. choose "I will configure partitioning" then click "Done" in the up left corner.
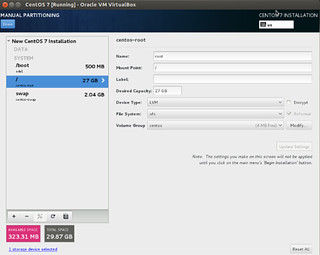
8. At this point, you will partition by yourself, so be very careful. the "/" partition need format, which partition type is "xfs" for better performance. And the "/home" partition is your older partition for data transfer without copy and paste, which does not need format, so keep its format. Here, You should choose your older Linux system, and revise the information on the right half screen, then press "update settings".
Here, I prefer a new /boot/efi partition, which cannot be mixed with Microsoft EFI partition. Its partition type will be EFI system.
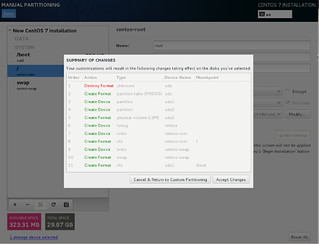
9. After you finish the partition editing, Click "Done". It appears like
and then click "Accept changes". Here, please double check the partition configuration, don't format the "/home" partition. Don't worry the GRUB2, the installer will do it automatically when you finish. If it is broken, the Windows 7 boot loader is still there.
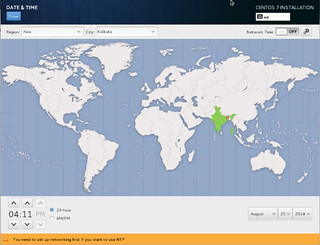
10. Choose the time zone
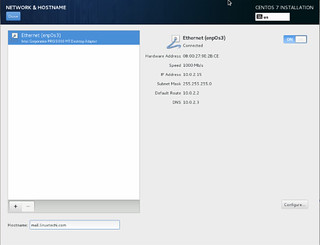
11. Configure the Network
12. Choose the software packages as you want.

13. click on "beginning installation" button at the bottom right.
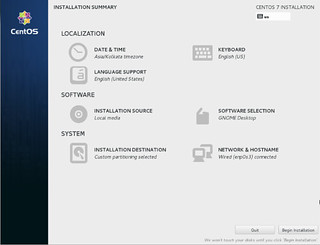
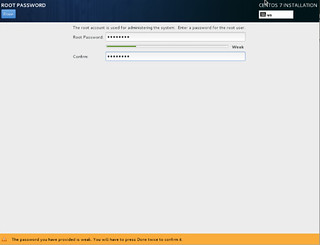
14. set the root passwd and create the user with the username as your previous username
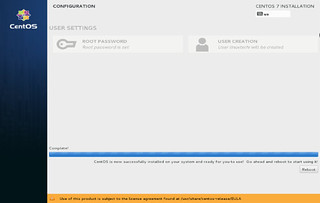
15. Finally, the installation had been done, and reboot the system.
References
1. Installation of “CentOS 7.0″ with Screenshots. http://www.tecmint.com/centos-7-installation/, retrieved on 2014-11-24
2. CentOS 7 Installation Steps with Screenshots. http://www.tuicool.com/articles/ayuqimf, retrieved on 2014-12-01
